

Requirements
- A working ComfyUI install with a GPU that can run the image model you pick.
- The model files for the features you want to use. See Models. Qwen Image 2.1 alone is enough for generation, quick edit, edit text and expand.
Install
1
Clone into custom_nodes
2
Install the Python requirements
Use the same Python environment that runs ComfyUI. Today this only adds
pypdfium2, used for PDF uploads.3
Restart ComfyUI and open ComfyArt
Open http://127.0.0.1:8188/comfyart/ in your browser.
dist/, so you do not need Node.js to use ComfyArt. Only if you change the frontend source in src/, rebuild it with npm install && npm run build.
Your first image
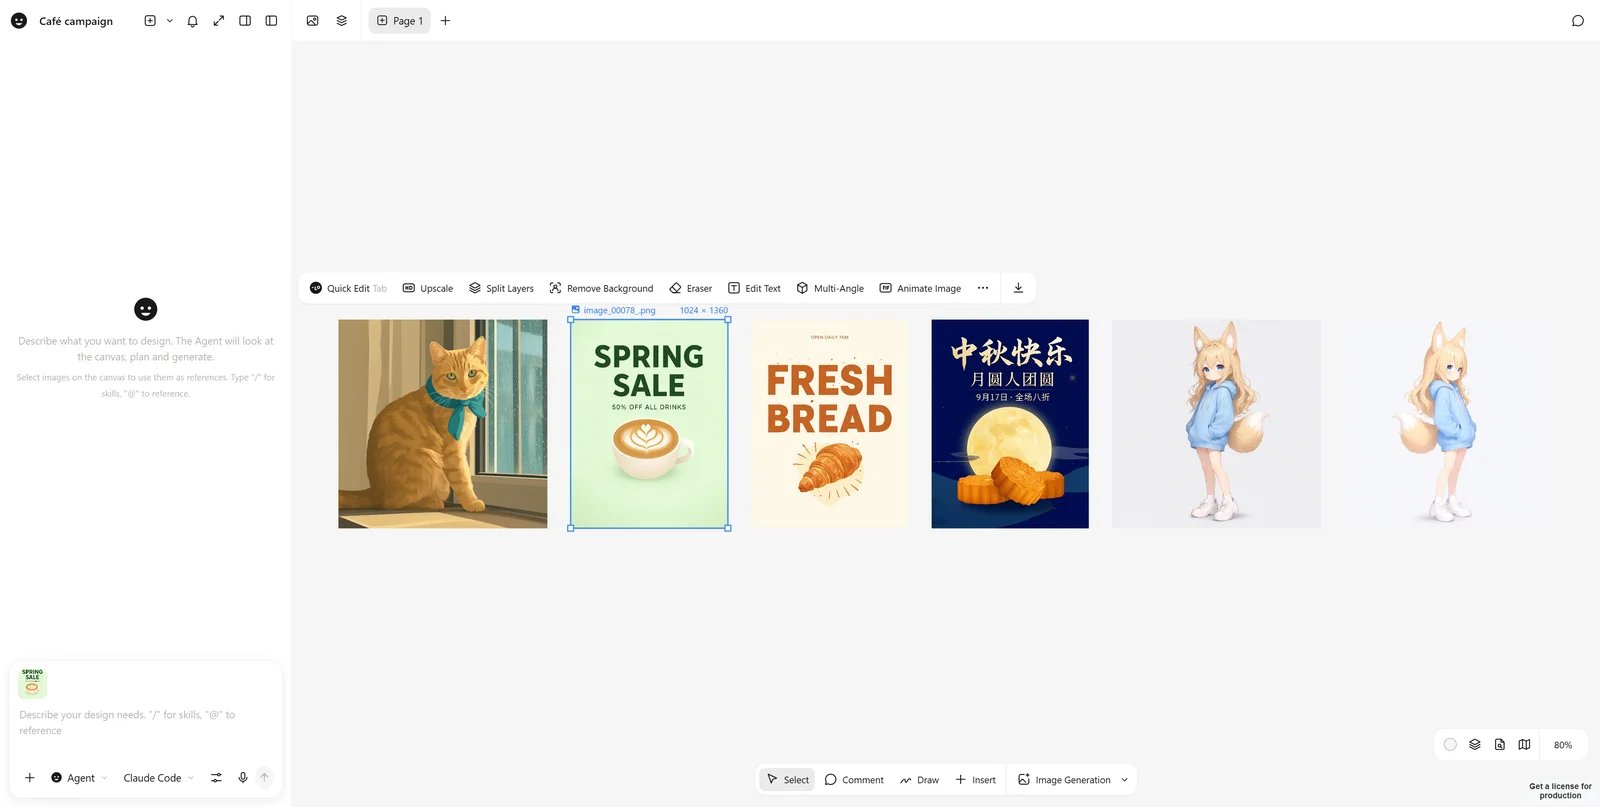
- Click Image Generation in the bottom bar. A generator card appears on the canvas with a prompt box under it.
- Describe the image. Put any text that should appear in the image in quotes, for example
the title "SUMMER DRINKS". - Pick a ratio, size and count, then press the arrow button. A progress ring runs around the card while ComfyUI works.
- Select the result to open the image toolbar: quick edit, upscale, split layers, remove background, eraser, edit text, multi-angle, animate, and more under ⋯.
Projects and language
- Each project is a URL:
/comfyart/?project=<id>. Use the Projects button at the top left to switch, rename or create projects. - Projects are saved in the ComfyUI user directory under
comfyart/projects/, with snapshot history you can restore. - The interface follows ComfyUI’s language setting (English or Chinese).
Next steps
Generate
References, color palettes, base images and video.
Agent
Turn on the agent and let it plan and build designs for you.